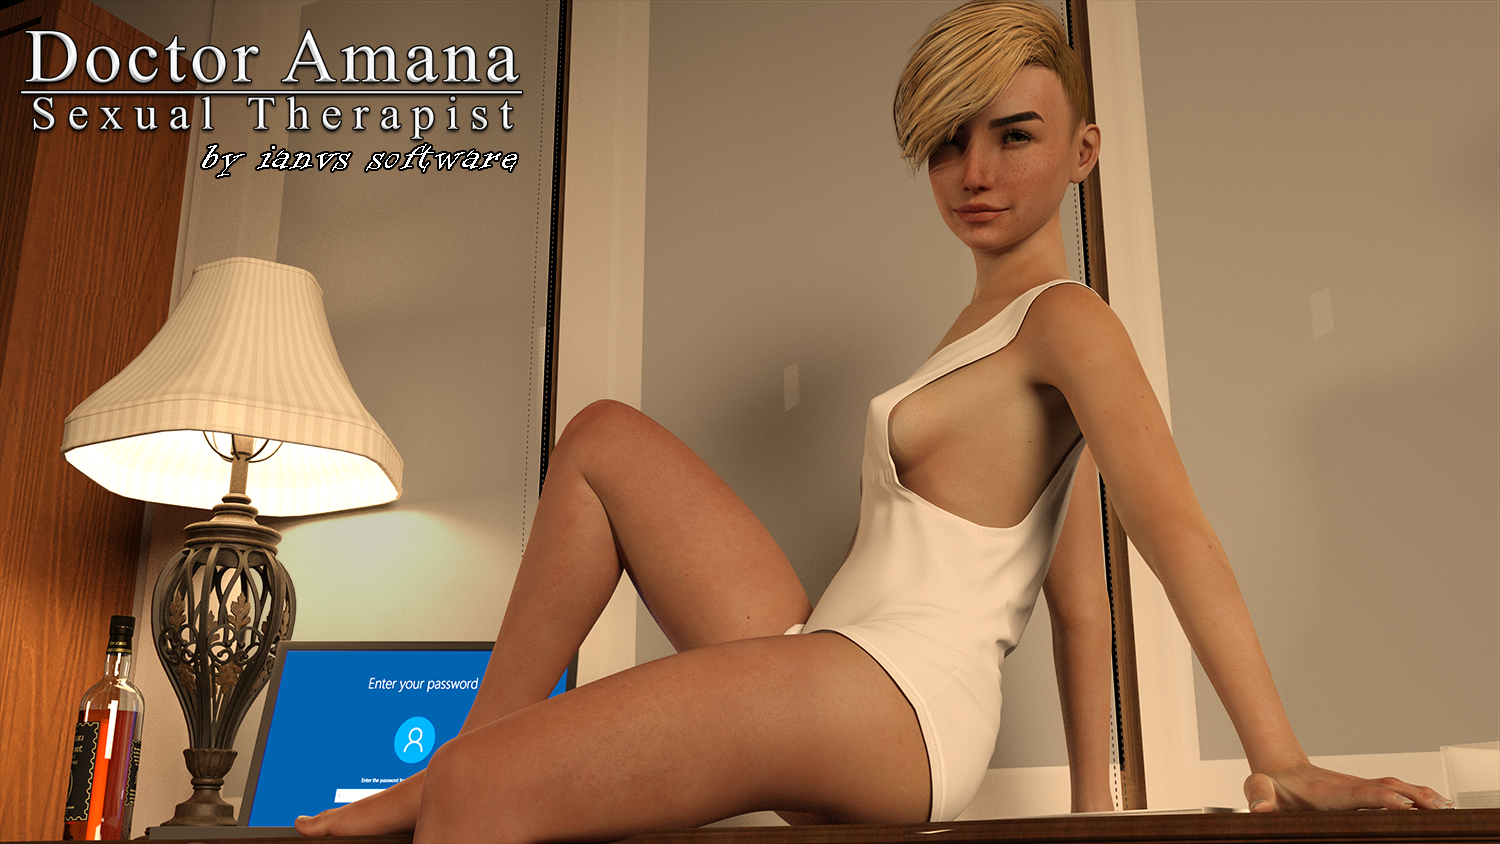
DevLog 1-2: What’s in a Render? Part 2 – Heaven let your Light shine down…
So in continuing with the topic of visuals and renders, another important skillset that requires some dedication to master is lighting. Lighting isn’t just necessary to make everything in your scene visible, but can be used as a powerful tool of communication in your scene. Through your lighting you can impact the mood, the setting, the layout and even the temperature.
When I first started creating renders, lighting was a nuisance. I would spend a half an hour meticulously setting up a scene and then throw down some trash lighting on it only to become disappointed in the final product. It wasn’t until after doing extensive research and taking the time to learn about the mechanics of lighting that I finally understood it’s power.
I am trying hard not to write a tutorial here about everything I’ve learned about lighting. Doing so would completely blow the intent of this post out of proportion. But if I were to just give a fly-by of important topics that the dedicated learner would want to explore, the scope would look like this:
- Iray’s global sun-sky system of lighting is incredible. Even for interior scenes we’ve found it incredibly useful for simulating light coming through windows and openings for various times of the day.
- When trying to simulate real world light sources like lightbulbs and fire, use a light temperature guide to set the emission temperature to the appropriate setting. This has created some very realistic looking light sources within several of our scenes. Attempting to match these temperature with colored filters is not only absurd, but unnecessary.
- When dealing with brightness, stick to lumens. We have found lumens to be the easiest metric for determining the brightness of a light sources. If you don’t get too crazy and stick to multiples of ten, it’s easy to adjust the intensity of the light by simple percentages.
- Don’t go for full simulation. While it’s nice to set up all the lighting in your scene as it would appear in real life and then expect your model to appear perfectly lit as if you were standing in the room with her, this is still only a simulation, not real life. Even in photographers and filmmakers augment the lighting on their set to achieve the desired effect, you should to. Set lighting may be good for the backgrounds, but don’t feel bad about throwing in some spotlights and backfill to create the perfect image.
- Feel free to haunt your scene with ghost lights. If you are unfamiliar with ghost lights, you are missing out on a powerful tool. A ghost light is a simple Daz geometric object that has been turned into an emissive surface. Once this surface is spreading light, you can move it around your scene and cast the light where you need it. If the object happens to appear in front of the camera, you can select the object’s surface, go to ‘Geometry’ and set the opacity to .0000005. This will effectively make the object invisible in your scene, but it will continue to radiate light. This can help you get light into places the scene may not naturally illuminate.
- Turn off the camera’s headlamp. For whatever reason this features is turned on automatically and there is no way to change this default that we are aware of. So when framing your image, make sure you are using a camera, and make sure you’ve gone into the camera’s tab, and turned off the head lamp. Also make sure in your render settings you’ve turned Auto Headlamp to “Never” in the General tab.
Another important note is that we are using the Iray engine for our renders. But I think only tip number one applies strictly to Iray. The other items should carry over into other engines, but I can’t completely vouch for that.
I could fill several pages with all of the things I’ve learned about lighting since starting this project. However, these six tips will go a long way to help improve the life-like quality of your renders. No doubt they have made a tremendous difference in ours.
Until next time, Cheers!
You May Also Like
Some Teasers for your Thursday
Who’s Running the Goddamned Warehouse?