Dev-Log 1-2: What’s in a Render? Part 3 – A Mask of a Thousand Faces
Prior to the creation of this game/story/VN, neither I or any of my compatriots have done any sort of three-dimensional modelling or artwork. In fact, I personally have never done any kind of serious art period. But I am a computer enthusiast, so it’s no surprise to me that I found a digital medium that I so thoroughly enjoy. When I first downloaded Daz, I was instantly amazed at both the simplicity, and the potential complexity it contained. Moving around a virtual space, positioning elements and then rendering them in super-high quality was a very surreal experience. I am now completely enamored with this form of art and strive to learn every aspect of it.
Daz offers a whole plethora of pre-created content for sale. Models, scenes, poses, and expressions can all be purchased for a pittance. All of this material can you up and running fast. Initially I looked upon this library of content as the savior that would relieve me from having to delve too deeply into the time consuming process of posing and positioning. A short-cut that allowed me to get straight to composition and rendering. My view on this has now changed dramatically.
Now I view this library of pre-generated material as a set of training wheels. Something to help get you started right away and give you something to study in the development of your own custom solutions. We spent a lot of money on the outset of this project. At one point they ran a sale on Gen 3 poses and we dumped about $450 dollars in a shot and purchased something like 30 different pose packages.
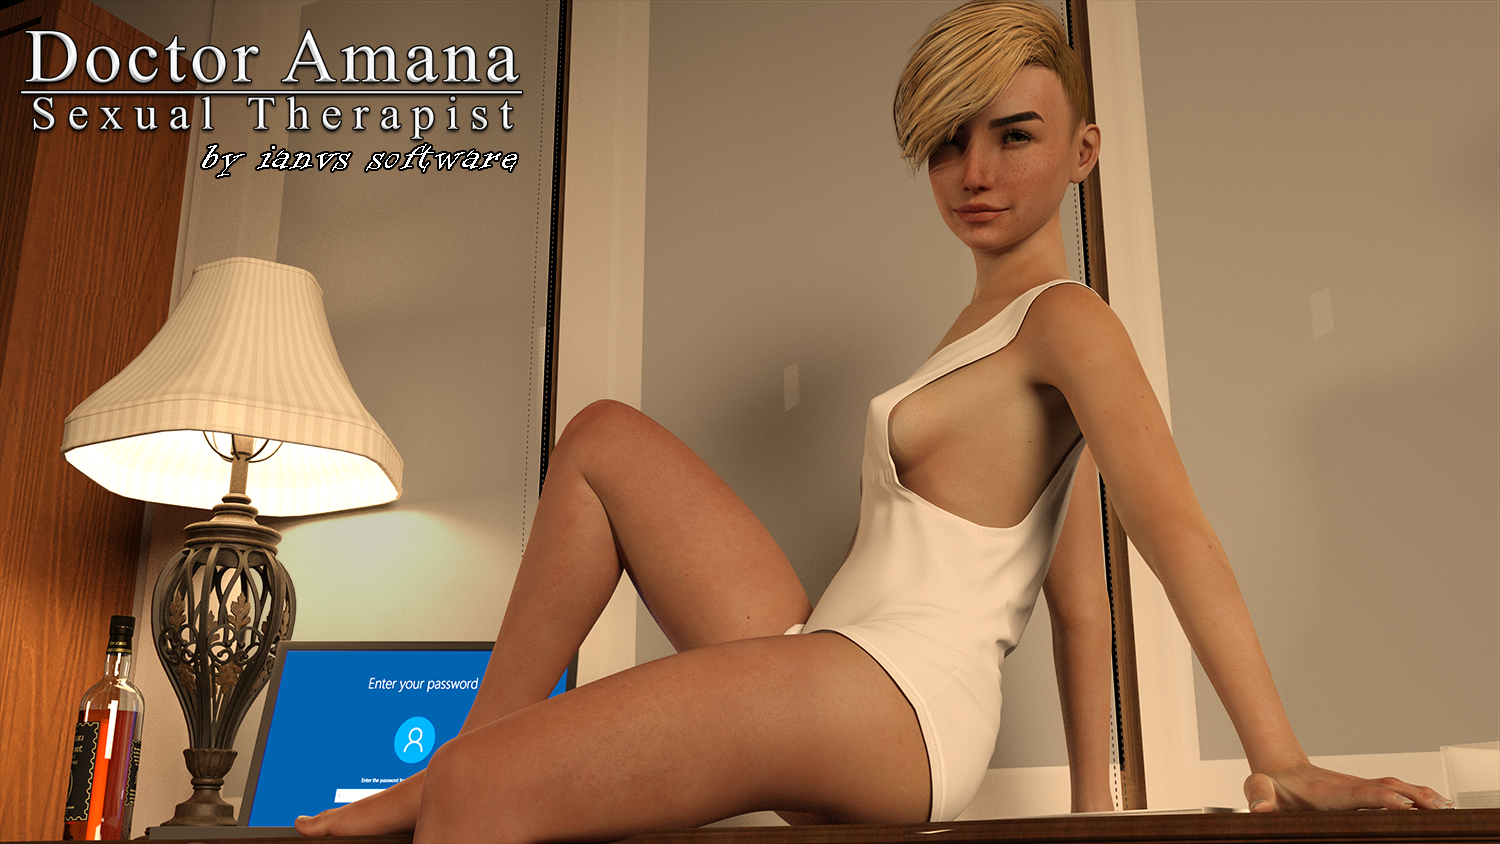
In the beginning, we used a lot of those poses and expressions right out of the box. Sometimes to great effect (Cassie’s second scene) and sometimes less so (Lupita’s first scene). We were learning a valuable lesson, expressions, while seemingly universal, do not always play well on every model. This reality was most obvious with facial expressions. Starting with Lupita’s second scene, we decided to try and break away from pre-generated facial expressions and handle the management of her features entirely ourselves. I’d now like to share with you the methodology that has worked best for us.
1. Start with camera position. Get your scene and model all set up. Don’t worry about the face at all until you’ve decided on the direction you are shooting and the angle of the body and the head. Make any adjustments to the tilt or twist of the head and neck to get your model in as close the final position as possible.
2. Set the direction of the model’s gaze. This is where you decide whether she is looking at the camera, or towards some other element on the screen. Don’t worry about eye lids or any other elements, just get your model’s pupils pointed at whatever you want his or her attention to be focused on. Avoid using the “point at” parameter. This can cause problems when batch rendering because the orientation of the eye isn’t saved, only the instruction to run the “point at” script when the scene is jogged. Always set the gaze manually for consistent results.
3. Adjust the model’s mouth. This is where you decide what her oral expression should be. Open, closed, talking, smiling, etc. You can run into the same problems here as you can with pre-packaged expressions. Sometimes a pre-made character’s morphs just don’t work well with a given expression. But the benefit here is that you have total control. Lupita’s mouth has a very distinct shape that doesn’t respond well to talking and smiling morphs. Using the defaults, she always appeared to have an unattractive underbite. To correct this, we positioned the lips and mouth, and then went to her facial morphs and directly offset the location of her bottom teeth. This made a huge difference in making her smile much more attractive. It was a small adjustment that yielded great results. Never be afraid to adjust your character’s actual physical features to conform to the expression you want to convey provided the final result looks natural. It may take a couple of test renders, but you’ll eventually achieve the pristine look you’re going for.
4. Adjust the model’s eye lids. At this point, you can start tweaking the positioning of the eyelids. We’ve had more success adjusting the top and bottom separately than as pair. Sometimes, a little too much white in the eye can give your model those crazy eyes that should warn off any sane man. Bringing the top or bottom lid up or down to adjust for the amount of white showing in the eye, can make a huge difference.
5. Tweak the eyebrows and brow. This is how you make model appear surprised, angry, skeptical, etc. I was amazed to learn how much expression rested in the brow. Now unlike the eyelids, unless you are going for that one eye-brow raised look, it is safe and perhaps preferable to move them in tandem. The motions here are obvious, brows down and together for angry, up for surprised or worried, so on and so forth, the results are pretty obvious.
6. Make any final adjustments. Now it is safe to step back and see how all of your adjustments are working together. You may need to go back and fix the eyelids or tweak the mouth some, that’s ok. But at least by this point you’ve gotten your expression set 95% of the way.
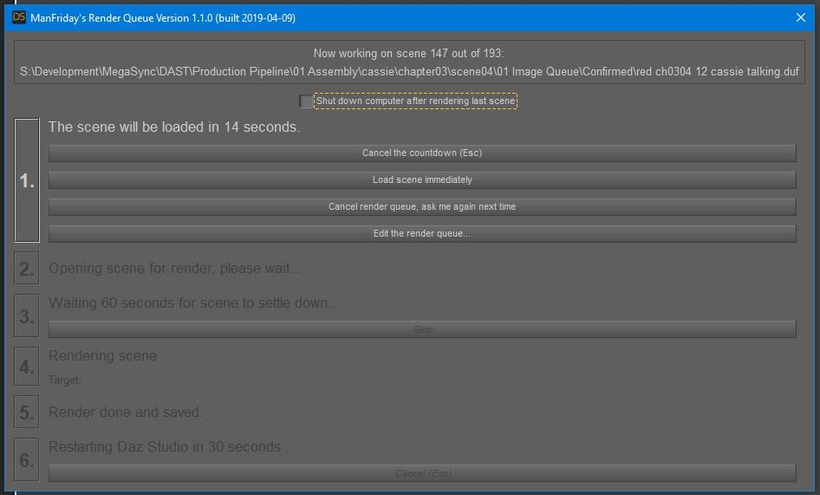
The real key here is to work backwards. Start with the camera, and then one by one adjust each of the facial features to converge on the look you’ve envisioned for your model. I would also recommend producing a test render at each step along the way. We are only using Nvidia’s Iray engine for our renders, so I can’t speak for other engines. But I will say that sometimes, I’ve put together what appeared to be the perfect expression, only to have Iray make some subtle adjustments while rendering that I did not approve of. Test renders are key. In most cases it dealt with how wide or open the mouth was in the final render. No big deal. I would just go back and adjust beyond what I thought looked natural in the pre-render, only to have a very natural result appear in the final render.
OH! And one more thing, with the eyes especially, you may need to go into the control’s setting and turn off limits. There are times when shooting from an off angle that the eyes wouldn’t quite turn all the way side to side or up and down to achieve what was a realistic position that existed beyond the limit. The limits are there to help guide you, but sometimes you need to override them. Turn them off, set your position, do a test render, and then decide whether or not the limit should have been left alone.
That’s all I have for now. Thank you for reading, thank you for playing, and thank you for your support.
Till next time, Adieu.


